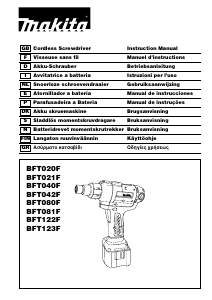
Manual Makita BFT043F Aparafusadora
Precisa de um manual para o seu Makita BFT043F Aparafusadora? Abaixo você pode visualizar e baixar gratuitamente o manual em PDF em português. Este produto tem atualmente 2 perguntas frequentes, 0 comentários e tem 0 votos. Se este não for o manual que você deseja, por favor contacte-nos.
Seu produto está com defeito e o manual não oferece solução? Vá a um Repair Café para obter serviços de reparo gratuitos.
Manual
Loading…


Loading…
Avaliação
Deixe-nos saber o que você pensa sobre a Makita BFT043F Aparafusadora, deixando uma classificação do produto. Quer compartilhar suas experiências com este produto ou fazer uma pergunta? Por favor, deixe um comentário na parte inferior da página.Mais sobre este manual
Entendemos que é bom ter um manual em papel para o seu Makita BFT043F Aparafusadora. Você sempre pode baixar o manual em nosso site e imprimi-lo você mesmo. Se desejar um manual original, recomendamos que entre em contato com Makita. Eles podem fornecer um manual original. Você está procurando o manual do seu Makita BFT043F Aparafusadora em outro idioma? Escolha o seu idioma preferido em nossa página inicial e pesquise o número do modelo para ver se o temos disponível.
Especificações
| Marca | Makita |
| Modelo | BFT043F |
| Categoria | Aparafusadoras |
| Tipo de arquivo | |
| Tamanho do arquivo | 1.06 MB |
Todos os manuais para Makita Aparafusadoras
Mais manuais de Aparafusadoras
Perguntas frequentes sobre Makita BFT043F Aparafusadora
Nossa equipe de suporte pesquisa informações úteis e respostas a perguntas frequentes sobre produtos. Se você encontrar algum dado incorreto em nossas perguntas frequentes, informe-nos usando nosso formulário de contato.
Eu continuo tirando a cabeça do parafuso quando uso a chave de fenda. Por que é que? Verificado
A maioria das chaves de fenda pode ser configurada para aparafusar com mais ou menos força. Se a cabeça continua sendo arrancada, a chave de fenda provavelmente deve ser colocada em uma configuração diferente. Quando for um dispositivo sem fio, sempre certifique-se de que a bateria esteja carregada para um resultado ideal.
Isso foi útil (67) Consulte Mais informaçãoPosso guardar ferramentas elétricas em um galpão ou garagem? Verificado
Em geral, você pode armazenar ferramentas elétricas em um galpão ou garagem, mesmo que às vezes congele lá. No entanto, é melhor para a vida útil da ferramenta elétrica armazená-la em local seco e sem grandes oscilações de temperatura. Num galpão ou garagem, as diferenças de temperatura podem causar a formação de condensação, o que pode causar ferrugem. Além disso, as ferramentas que funcionam com baterias duram menos e não carregam tão bem em temperaturas muito baixas. Para ter certeza de como sua ferramenta elétrica precisa ser armazenada, leia sempre atentamente o manual do usuário.
Isso foi útil (14) Consulte Mais informação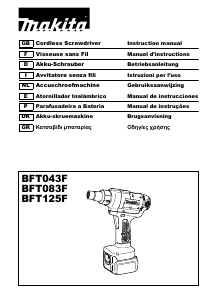


Participe da conversa sobre este produto
Aqui você pode compartilhar o que pensa sobre Makita BFT043F Aparafusadora. Se você tiver alguma dúvida, primeiro leia atentamente o manual. A solicitação de manual pode ser feita através do nosso formulário de contato.