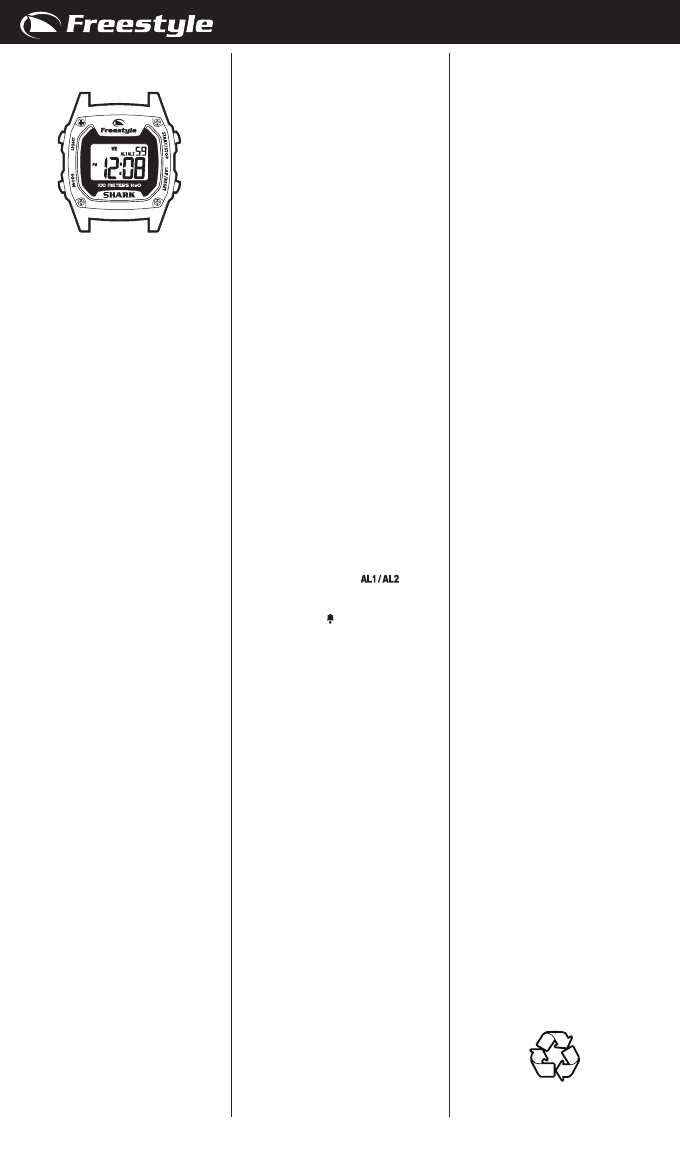
Manual Freestyle Shark Mini Relógio de pulso
Precisa de um manual para o seu Freestyle Shark Mini Relógio de pulso? Abaixo você pode visualizar e baixar gratuitamente o manual em PDF em português. Este produto tem atualmente 6 perguntas frequentes, 1 comentário e tem 0 votos. Se este não for o manual que você deseja, por favor contacte-nos.
Seu produto está com defeito e o manual não oferece solução? Vá a um Repair Café para obter serviços de reparo gratuitos.
Manual
Loading…

Loading…
Avaliação
Deixe-nos saber o que você pensa sobre a Freestyle Shark Mini Relógio de pulso, deixando uma classificação do produto. Quer compartilhar suas experiências com este produto ou fazer uma pergunta? Por favor, deixe um comentário na parte inferior da página.Mais sobre este manual
Entendemos que é bom ter um manual em papel para o seu Freestyle Shark Mini Relógio de pulso. Você sempre pode baixar o manual em nosso site e imprimi-lo você mesmo. Se desejar um manual original, recomendamos que entre em contato com Freestyle. Eles podem fornecer um manual original. Você está procurando o manual do seu Freestyle Shark Mini Relógio de pulso em outro idioma? Escolha o seu idioma preferido em nossa página inicial e pesquise o número do modelo para ver se o temos disponível.
Especificações
| Marca | Freestyle |
| Modelo | Shark Mini |
| Categoria | Relógios de pulso |
| Tipo de arquivo | |
| Tamanho do arquivo | 0.84 MB |
Todos os manuais para Freestyle Relógios de pulso
Mais manuais de Relógios de pulso
Perguntas frequentes sobre Freestyle Shark Mini Relógio de pulso
Nossa equipe de suporte pesquisa informações úteis e respostas a perguntas frequentes sobre produtos. Se você encontrar algum dado incorreto em nossas perguntas frequentes, informe-nos usando nosso formulário de contato.
A bateria do meu dispositivo está oxidada. Ainda posso usá-la com segurança? Verificado
Sim, o dispositivo ainda pode ser usado com segurança. Em primeiro lugar, remova a bateria oxidada. Nunca use as mãos desprotegidas para fazer isso. Em seguida, limpe o compartimento da bateria com um cotonete embebido em vinagre ou suco de limão. Deixe secar e insira novas baterias.
Isso foi útil (945) Consulte Mais informaçãoMeu relógio mecânico funciona rápido, o que posso fazer? Verificado
Isso pode ser causado pela exposição a um campo magnético. Pode ser resolvido por um processo de desmagnetização realizado por um relojoeiro profissional.
Isso foi útil (884) Consulte Mais informaçãoO que AM e PM representam? Verificado
AM significa Ante Meridiem e indica que a hora é antes do meio-dia. PM significa Post Meridiem e indica que já passou do meio-dia.
Isso foi útil (758) Consulte Mais informaçãoO que é um 'cronógrafo'? Verificado
Um 'Cronógrafo' é literalmente um 'escritor do tempo'. O termo é usado para descrever relógios que indicam a hora do dia e também medem um determinado período de tempo, como um cronômetro.
Isso foi útil (662) Consulte Mais informaçãoO que é GMT? Verificado
GMT significa Greenwich Mean Time (às vezes chamado de UTC, que significa Tempo Universal Coordenado). É a hora da longitude 0, que passa por Greenwich perto de Londres.
Isso foi útil (503) Consulte Mais informaçãoO que é um movimento de quartzo? Verificado
Relógios e relógios com movimento de quartzo são acionados por bateria. Isso envia uma corrente elétrica por meio de cristais de quartzo que vibram. Essas vibrações são transmitidas ao movimento. Como as vibrações têm frequência fixa, relógios e relógios com movimento de quartzo são extremamente precisos.
Isso foi útil (483) Consulte Mais informação
Participe da conversa sobre este produto
Aqui você pode compartilhar o que pensa sobre Freestyle Shark Mini Relógio de pulso. Se você tiver alguma dúvida, primeiro leia atentamente o manual. A solicitação de manual pode ser feita através do nosso formulário de contato.
responder | Isso foi útil (0) (Traduzido pelo Google)